Installation
NomiFun is a fully open-source, local-first “super AI workstation”: one Rust backend plus a React 19 frontend, with two host modes — the desktop app nomifun-desktop (Tauri 2, started on a loopback port with a per-launch local-trust token, so the desktop window needs no login) and the self-hosted web service nomifun-web (axum, 127.0.0.1:8787 by default, login required by default). Both share the same backend, so providers, companions, and knowledge bases configured in one host are visible in the other.
This page walks you through getting NomiFun onto your machine or server from scratch.
Download entry: the NomiFun app download page is GitHub Releases. Open it, choose a version, then pick the asset for your platform. If a release does not include your platform yet, you can still build from source (desktop Tauri / web axum) or self-host with Docker using the steps below.
For platform support and system requirements, see the download page.
Prerequisites
Whichever path you take, you need a working build toolchain:
- Rust (stable, edition 2024) — compiles the backend; the desktop path also compiles the Tauri shell. Install via rustup.
- Bun ≥ 1.3.13 — frontend package manager and build, and also a hard runtime dependency of the agent engine.
1.1.38has a stdin bug — do not use it. - Tauri CLI v2 — desktop path only; pulled in as a devDependency, no global install needed.
- Git — to clone the repo; also used by skill discovery and several built-in tools.
- C/C++ build tools — Windows: MSVC + the WebView2 runtime; macOS: Xcode Command Line Tools; Linux:
build-essential cmake clang pkg-config perl.
On the machine that actually runs NomiFun, also install ripgrep (the code-search backend; falls back to grep when missing) and node / npm / npx (many MCP stdio servers launch via npx -y …). A build-only machine doesn’t need those two.
Clone the repo and install JS dependencies once (re-run whenever package.json changes):
git clone https://github.com/nomifun/nomifun-tauri.git
cd nomifun
bun install
All commands below assume your working directory is the repository root.
Steps
Pick one of three by how you’ll use it. For a single-user machine, take A; to reach it from a phone, LAN, or server, take B or C.
A. Build the desktop app from source
The desktop app is a Tauri 2 shell that links the backend in-process and starts it on a free 127.0.0.1 port under a local-trust policy. The WebView receives a local-trust token generated on each launch, so the desktop window has no login screen.
- Run in dev mode:
bun run dev. The Vite dev server comes up athttp://localhost:5173, cargo compilesnomifun-desktop, and the shell picks a free port, spawns the embedded backend, and loads the UI. The renderer hot-reloads. - Produce a release binary: first
bun run build:uito build the SPA intoui/dist, thenbun run buildto produce a standalone executable plus platform installers (undertarget/release/bundle/:.msi/.exeon Windows,.app/.dmgon macOS,.deb/.AppImageon Linux). - Distribute a signed build (optional): on macOS use
bun run build:signed(signing keys required); Windows signing still needs an external code-signing certificate.
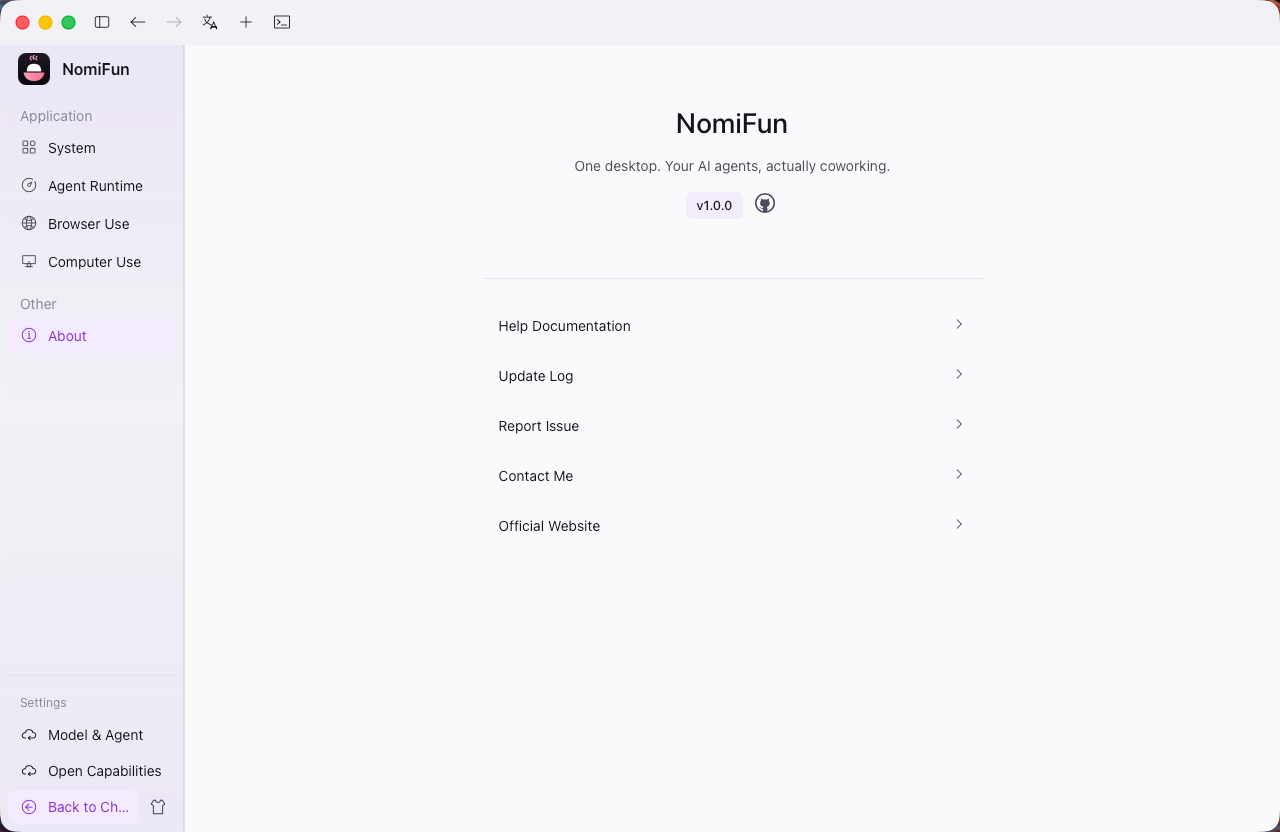
Once installed, launch the desktop app and open Settings → About to see the current version number and confirm the install succeeded:
B. Build the web service from source
nomifun-web is an axum service that mounts the same backend in-process and serves the built SPA on the same port (default 8787). It suits self-hosting on a LAN, VPN, or VPS, and requires login by default.
- Install dependencies and build the SPA:
bun install, thenbun run build:ui(mandatory before serving outside dev mode). - Start the service:
bun run serve:web(equivalent tocargo run -p nomifun-web). It binds127.0.0.1:8787by default and uses the same per-user data directory as the desktop app. - Open
http://127.0.0.1:8787in a browser. The first visit is routed to a setup page — the username and password you enter become the initial admin account, and everyone authenticates afterward.
To open it to your LAN and preseed the admin (skipping interactive first-run setup), use --host 0.0.0.0 with --admin-user / --admin-password, and set absolute --data-dir and --dist paths explicitly:
nomifun-web \
  --host 0.0.0.0 --port 8787 \
  --data-dir /var/lib/nomifun \
  --dist /opt/nomifun/web \
  --admin-user admin \
  --admin-password "change-me-to-something-strong"
C. Docker / Docker Compose
The repo ships a multi-stage Dockerfile and a docker-compose.yml that build a GUI-less image (SPA + nomifun-web + bun on debian:bookworm-slim).
- From the repository root, run
docker compose up -d --build. - Visit
http://<server-ip>:8787. The service is configured withrestart: unless-stopped, so installing it is enabling it on boot. Persistent state lives in the named volumenomifun-datamounted at/datain the container — back it up like any other database. - For any public-facing deployment, preseed the admin in
docker-compose.yml(NOMIFUN_ADMIN_USERNAME/NOMIFUN_ADMIN_PASSWORD) and put TLS in front — the bundledCaddyfileand the commented-outcaddyservice are the recommended setup. When enabled, also setNOMIFUN_HTTPS=trueso session cookies get theSecureflag.
Notes and boundaries
- The desktop app is a single-user tool. The OS account that launches it has everything the agent can do, including shell and file access. The login-free window relies on the local-trust token, not on “no auth” — other processes that merely know the port are not trusted automatically.
- Don’t expose the desktop port directly for remote access. To reach it from another device, use the in-app WebUI LAN remote control (one-time QR scan, 5-minute token TTL) or deploy the web service separately.
- First-run window. Until you finish setup, anyone who can reach the web service’s port can claim the admin account. On a non-loopback bind the server logs a prominent warning; preseeding with
NOMIFUN_ADMIN_PASSWORDcloses that race window. --insecure-no-authis hostile by default. It disables authentication entirely; use it only on loopback or a fully trusted private network. Running the backend remotely is, by design, equivalent to granting remote code execution on that host — auth + TLS is the floor.- Only one backend instance per data directory. The backend takes an exclusive
server.lockat startup; runningnomifun-webbare on a machine that also has the desktop app fails fast because both point at the same directory. To run multiple instances, give each its own--data-dir.
Verify the install
Whichever path you took, run a quick check:
# The Rust workspace compiles cleanly
cargo check --workspace

# The web host responds with the SPA + auth status
curl -sS http://127.0.0.1:8787/api/auth/status
# → 200 {"success":true,"needs_setup":..., "user_count":...}
If you see nomifun-web: embedded backend + SPA on one port in the logs and /api/auth/status returns JSON, the backend is up and the SPA is served on the same port. For the desktop app, the version shown on Settings → About is the source of truth.
FAQ
The window opens to a blank white screen. Make sure the WebView runtime is installed — Windows 10 needs the WebView2 Evergreen Bootstrapper, Linux needs libwebkit2gtk-4.1-0.
Agent commands fail with bun: command not found. The agent engine spawns Bun to run tools. Ensure bun is on the system PATH (curl -fsSL https://bun.sh/install | bash), or build with NOMIFUN_EMBED_BUN=1 to embed Bun into the binary.
Failed to bind backend port. Another process is holding the ephemeral port; quit any other NomiFun instance and retry.
Related
- Introduction — what NomiFun is and how the two hosts compare.
- Quick Start — your first session after installing.
- WebUI LAN remote control — turn an existing desktop install into a QR-scan remote instance.
Full docs → GitHub